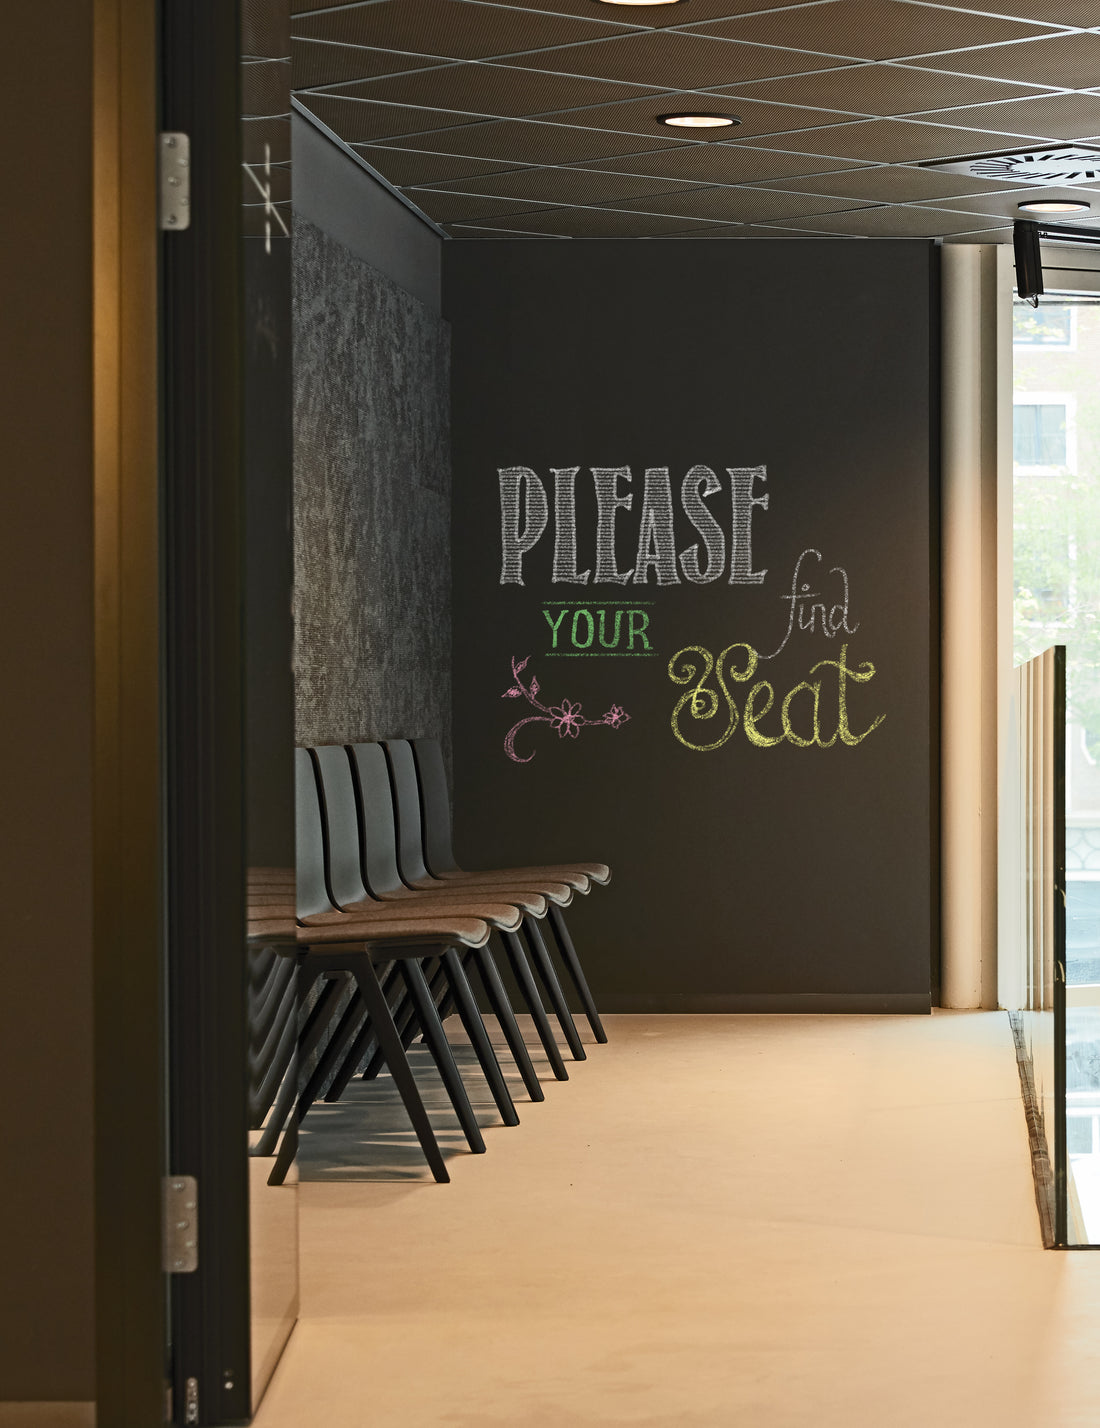
Let's be honest, nobody likes waiting in a waiting room. Often waiting rooms look drab, have clinical lighting and well.. they are boring. So why not transform your waiting room with the power of Blackboard Paint
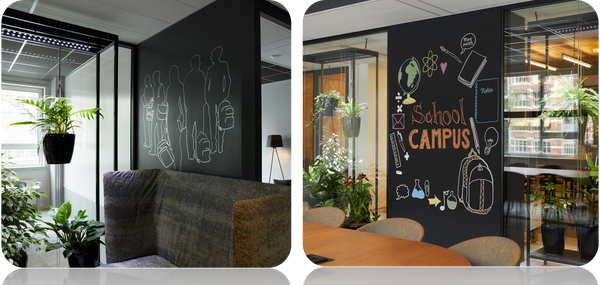
We absolutely love the way this campus has used Blackboard paint to jazz up the waiting areas around the college.
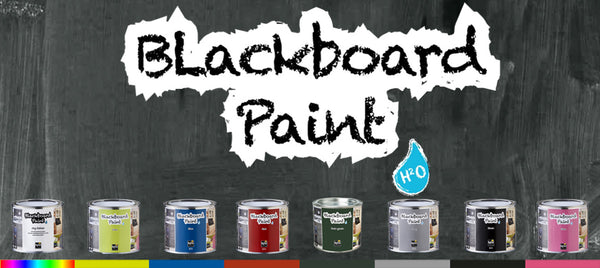
The chalkboard paint has been applied to feature walls so that the staff have the ability to write welcoming and customisable notices. They have opted for a traditional black surface, but we do offer blackboard paint in a choice of colour options.
Painting a school waiting area with blackboard paint can be a creative and functional choice, fostering a more interactive and engaging environment for students, parents, and visitors.
Benefits of a blackboard wall in the waiting room...
- Interactive and Engaging: Blackboard walls provide an interactive element that can engage people of all ages while they wait. Visitors can use the wall to draw, write, or play games, which can be especially helpful in distracting children or reducing perceived wait times.
- Information Display: Blackboard walls can be used to display important information, updates, or notices. This can include announcements, health tips, inspirational messages, or simply information about the school itself.
- Decorative Element: Blackboard walls can serve as a decorative feature, adding a touch of uniqueness and style to the waiting room. Why not get the pupils involved in jazzing up the blackboard wall with some creative chalk art.
- Eco-Friendly: Unlike paper-based notice boards or displays, blackboard walls are more sustainable as they eliminate the need for disposable materials. This aligns with environmentally friendly practices.
Get The Look
| 1. The smoother the surface that you apply the paints to, the better the end results will be. | 2. First fill in any holes and imperfections and sand back to a smooth surface. |
| 3. Prime the surface with a water based primer. | 4. Next you need to apply the magnetpaint in three layers. |
| 5. Allow each layer to dry and give a light sand between layers | 6. After the final layer is fully dry sand to a smooth flat surface - don't worry the surface will maintain its magnetic properties. |
| 7. Now apply the Blackboard paint on top of the magnetpaint in one or two layers. | 8. Blackboard paint is quick-drying and your surface is ready to use in 24 hours. |
| 9. Enjoy the wall! |
How to install...
You can grab yourself a tin of blackboard in a choice of exciting colours: